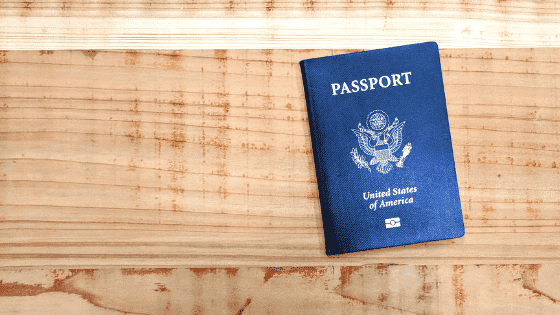
Top 10 Things to Know About Getting Passports for Kids
I went into the process not realizing I couldn’t apply for my kids’ passports completely via mail. Child passports require parental consent from both parents. The easiest way to do this is to make an appointment at a passport acceptance facility and have both parents attend together with all required documents. If you can’t both be there for some reason, you’ll need to meet other qualifications for parental consent.
2. Bring all required paperwork and documentation
Avoid a wasted appointment by carefully checking that you have EVERYTHING required for the passport applications:
- completed forms
- original birth certificates AND photocopies of birth certificates (or other proof of U.S. citizenship)
- parent drivers’ licenses or passports AND photocopies of licenses/passports
- checkbook with enough blank checks for one per child
- photos that meet all qualifications
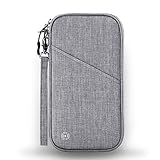
When you’re the one keeping track of all the passports and travel documents, it can be pretty stressful. We love these family passport holders from Amazon–lots of colors to choose from! The first one holds 4 passports and the second one holds 5 passports.

3. Use black ink on the paper DS-11 form or use the online form, which allows you to fill in blanks online and then print
I filled out the forms using blue ink and had to fill them all out again at the passport center because they require black ink.
4. Don’t take passport photos yourself to save a few bucks
I recommend against taking your own photos, though it’s technically permitted. It’s worth the $5-10 to ensure you have the right size, quality, background, etc. so issues with a photo don’t slow your application.
5. Use Costco for cheap photos, or find a passport acceptance facility that also takes photos to keep it simple
I’ve had issues with drug store passport photos in the past, but Costco did a great job for just $5 a photo (many places charge closer to $10). Just walk in, no appointment needed. I did this for two of my kids because we were already in Costco, and it was convenient.
My oldest was at camp that week, so rather than make an unneeded trip to Costco, I shelled out $10 as part of our appointment at the passport acceptance facility. He got his photo taken when we submitted the applications. Just check to make sure the facility you choose offers this service. When you schedule your appointment, add a note that you will need a photo taken.
6. Know that serious faces are safer in passport photos
It’s not an explicit rule that children can’t smile for their passport photos (the requirement is “a neutral facial expression or a natural smile), but two separate photographers shared that they always ask kids not to smile. They’ve seen photos rejected because eyes are not open enough or the face isn’t clearly visible due to a smile. Also, no glasses, hats or hair obscuring the face.

Photos of infants get a little more leeway and there are suggestions on ways to get qualifying photos of infants. See a full list of photo requirements and examples of what works and what doesn’t.
7. Keep in mind that passports for kids under 16 only last 5 years
Passports aren’t cheap, and for kids, they only last five years. After 16, passports are good for 10 years. Consider holding off on applying for a passport until you have an upcoming trip because you’re paying now and you’re paying again in five years if you need a renewal.
8. Prepare to send off your child’s original birth certificate and cross fingers it comes back
You are required to send your child’s original birth certificate with the passport application. The government will send it back to you, but it is mailed separately from the passport, so don’t panic if you get the passport and there’s no birth certificate included. To help ensure the birth certificate makes it back safely, you can add in the second address line of the DS-11 form: “In Care of [parent name]” as extra insurance. You must submit a photocopy of the birth certificate with the application, so make an extra copy for your own files at home.
9. Apply way before you think you should
The general rule is that it takes 6-8 weeks from when you apply to receive a passport. But anything can happen, so apply as soon as you know you need it. Expect things to take longer or original applications to potentially be denied, especially if your circumstances include anything unusual.
Kristie’s application for her adopted son was rejected due to insufficient citizenship records, though the passport acceptance facility told her she sent everything required. After investing a lot more money and enlisting the help of a state senator’s office, her son’s expedited passport arrived the day before her family’s planned departure. Talk about a seriously stressful start to a trip!
10. Prepare for the cost and know required ways to pay
Each child passport application will run you $80 plus photo costs and a $35 acceptance fee. This does not include additional fees to expedite the process ($60). The $80 passport fee must be paid by check or money order made out to the U.S. Department of State.
Our passport acceptance facility recommended writing a separate check for each child/application with the word “Passport” and the child’s name and birth date in the memo line. Each individual check was attached to the corresponding passport application.
The acceptance fee can be paid other ways as accepted by your passport acceptance facility, so just check on that before you go in case you need to bring more checks or have cash on hand.